
In a world dominated by sleek consoles and high-end graphics, the charm of a retro gaming PC stands out like a neon sign in a black-and-white movie. Picture this: pixelated graphics, chiptune soundtracks, and the satisfying click of a mechanical keyboard as you dive back into the golden age of gaming. It’s not just nostalgia; it’s a full-blown time machine that transports gamers to simpler times when defeating a pixelated dragon felt like winning the lottery.
Retro Gaming PC
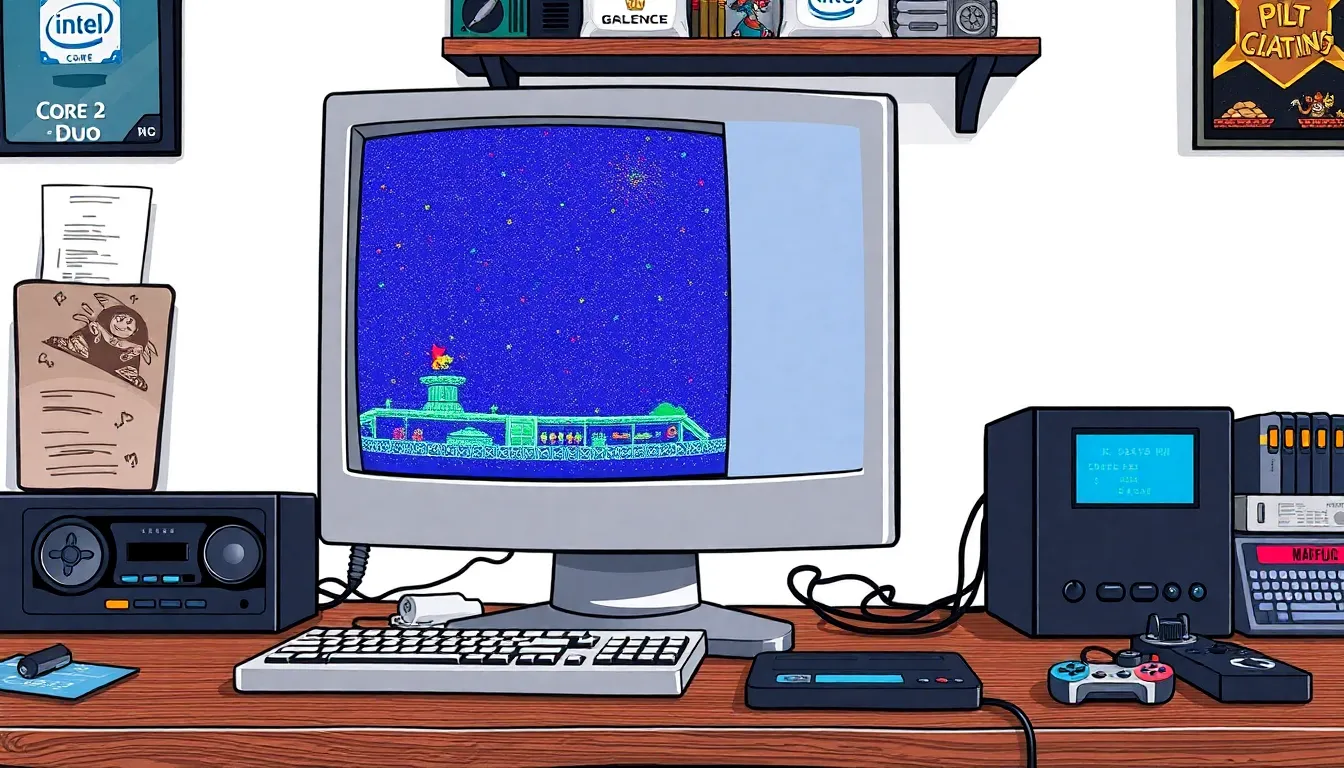
A retro gaming PC is a personal computer specifically designed to replicate the gaming experience of past decades. It includes hardware and software that enhances classic games, primarily from the 1980s and 1990s. This configuration typically features older processors, graphics cards, and ample RAM to support games with pixel art and simple mechanics. Many retro gaming PCs run emulation software, allowing users to experience titles from various consoles without needing the original hardware. Emulators mimic the functionality of devices like the NES, SNES, and Sega Genesis. When paired with vintage controllers, players access authentic gameplay that resonates with nostalgia. Building a retro gaming PC requires specific components. Key choices include a CPU from earlier architecture, a compatible motherboard, and enough RAM to handle the games efficiently. Gamers often install operating systems like Windows XP or lightweight Linux distributions for increased compatibility. Software also plays a vital role. Many enthusiasts turn to platforms like Steam or GOG for game purchases, which offer classic titles and often include enhancements. Additional tools, like front-end applications, help organize libraries, making it easier to navigate and launch games. Accessories enhance the retro gaming experience. USB controllers mimic original designs, while CRT monitors provide a true vintage look. Some even prefer retro-style cases to complete the aesthetic. Through careful selection of components and software, a retro gaming PC provides an immersive experience, transporting players back to their childhood gaming adventures. Each element, from hardware to software, works together to create a nostalgic yet fully functional system.Choosing the Right Components
CPU Options for Retro Gaming
CPUs play a crucial role in performance. Vintage processors like the Intel Core 2 Duo or AMD Athlon 64 offer compatibility with retro games. Performance needs vary based on the titles he or she wants to play. Lower power consumption also benefits older systems. Some may prefer a Pentium 4 for even more retro authenticity.GPU Selection for Classic Games
Graphics cards significantly impact how classic games render. Models like the NVIDIA GeForce GTX 750 Ti provide enough power without excessive heat generation. They effectively support pixel art without introducing lag. Legacy graphics cards, such as the ATI Radeon HD 4670, might also be attractive for nostalgic builds. Emulation can thrive even with mid-range GPUs for smoother gameplay. Various drivers ensure compatibility with older games.RAM and Storage Considerations
Memory and storage influence loading times and game performance. Generally, 4 GB of RAM suffices for many classic titles. Some games may benefit from 8 GB when multitasking. Solid-state drives (SSDs) enhance loading speeds, while traditional hard drives remain cost-effective options. File sizes for retro games are smaller than modern ones, allowing sufficient storage on smaller drives. Efficient organization keeps collections user-friendly and accessible.Building Your Own Retro Gaming PC
Building a retro gaming PC offers a rewarding experience for enthusiasts. This project combines vintage computing with modern technology, providing an engaging way to enjoy classic games.Step-by-Step Assembly Guide
-
- Choose a compatible case that accommodates your selected motherboard size.
-
- Install the power supply unit securely within the case.
-
- Attach the motherboard, ensuring all ports align neatly.
-
- Insert the chosen CPU into its socket and apply thermal paste, followed by securing the heatsink.
-
- Add RAM sticks in the appropriate slots, confirming a tight fit.
-
- Integrate the graphics card firmly into the PCIe slot.
-
- Connect storage drives, such as SSDs or HDDs, to the motherboard using SATA cables.
-
- Make necessary connections for power and peripherals before closing the case.